Buttermilk Loaf Guide: Bake, Variations, Serving
Why every kitchen deserves a perfect buttermilk loaf recipe
Here’s the truth that bakeries don’t want you to know: their most profitable quick bread is also the easiest to master at home. Moreover, the buttermilk loaf stands as the unsung hero of the baking world, delivering bakery-quality results with grocery-store ingredients and foolproof technique.
While artisan sourdoughs demand days of planning and finicky starters, this humble loaf rewards you with tender, tangy perfection in under two hours. It’s the Swiss Army knife of quick breads—equally at home on a breakfast table, afternoon tea service, or wrapped as a thoughtful gift.
Advertisement
Critics might argue that buttermilk loaf lacks the sophistication of French pastries or the rustic charm of crusty boules. However, they’re missing the point entirely. This bread’s genius lies not in complexity, but in reliability. It becomes the foundation upon which confident bakers build their repertoire.
According to research, a Reddit discussion titled “homemade proud of my buttermilk loaf” captures how home bakers celebrate this bread. This enthusiasm reflects what professional test kitchens know—consistent, crowd-pleasing results trump trendy complexity every time.
What separates exceptional buttermilk loaf from mediocre attempts
Science drives every great buttermilk loaf, not luck. Specifically, buttermilk’s natural acidity creates a chemical reaction with baking soda, producing the lift and tender crumb that defines excellence. Meanwhile, the tangy bite cuts through rich butter, creating perfect balance.
Most home bakers sabotage themselves with room-temperature negligence. In contrast, professional results demand eggs and butter at proper temperature so batters emulsify smoothly. Furthermore, fresh leavening agents make the difference between a proud dome and a disappointing pancake.
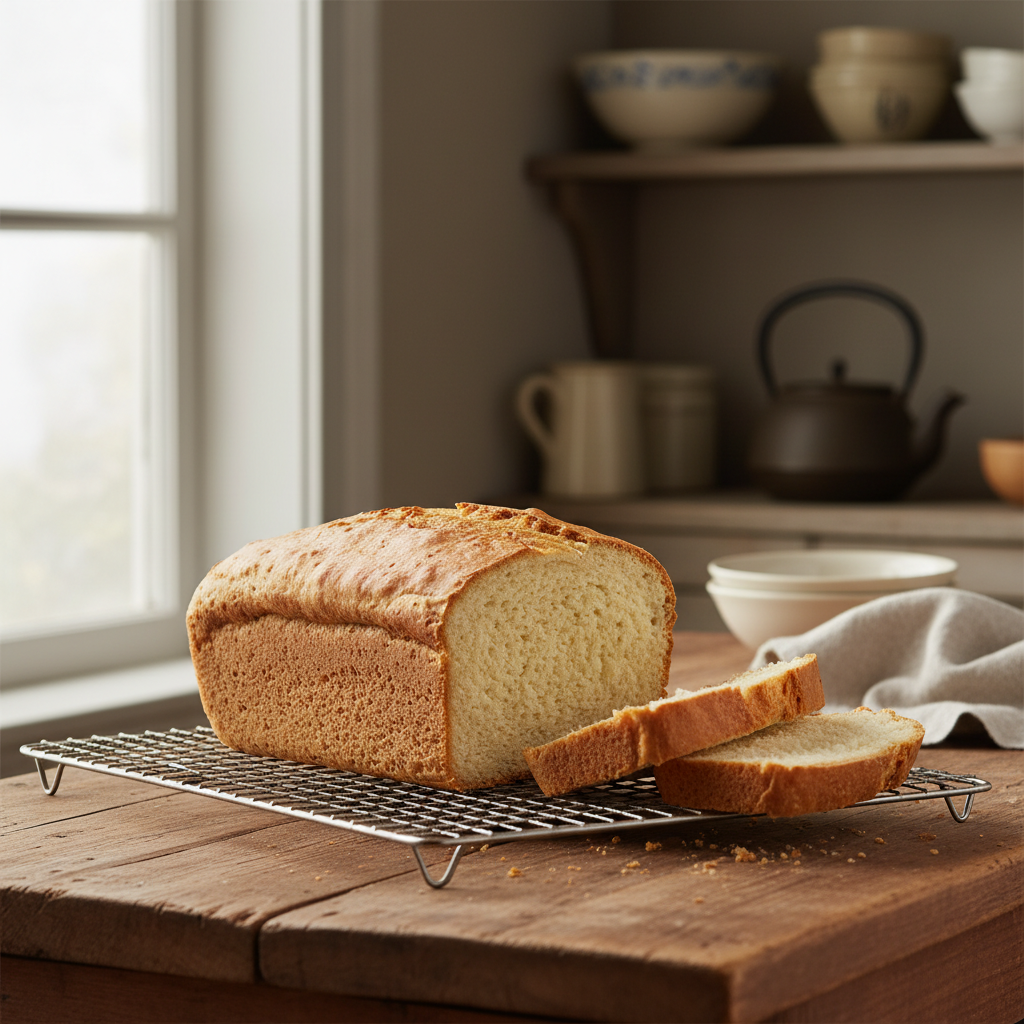
The gold standard exhibits a soft, fine crumb with gentle lift and a golden, lightly crackled crust. However, flavor complexity matters equally—subtle tang, buttery depth, and restrained sweetness that welcomes both glazes and savory additions.
According to research, community reactions to a celebratory buttermilk loaf post highlight the visual cues bakers value. Similarly, this shared focus on dome, crumb, and color aligns with professional standards that separate winners from also-rans.
Master the bulletproof buttermilk loaf technique
Forget complicated methods that intimidate beginners. Instead, this streamlined approach delivers professional results through smart technique and quality ingredients.
Essential Setup
- Pan: 9×5-inch loaf pan, greased with parchment sling.
- Oven: 350°F (175°C), preheated 15 minutes minimum.
- Position: Center rack for even heat distribution.
Core Formula (serves 8–10)
- 1¾ cups (180g) all-purpose flour
- ¾ cup (150g) granulated sugar
- 1 teaspoon baking powder
- ½ teaspoon baking soda
- ½ teaspoon fine salt
- ⅓ cup (115g) unsalted butter, melted and cooled
- 2 large eggs, room temperature
- 1 cup (240ml) buttermilk, room temperature
- 1½ teaspoons vanilla extract
Mixing Strategy
First, whisk dry ingredients in a large bowl until evenly distributed. Then, combine eggs, buttermilk, vanilla, and cooled butter in a separate bowl. Pour wet ingredients into dry mixture and whisk just until flour streaks disappear—overmixing kills tenderness.
Baking Process
- Scrape batter into prepared pan and smooth the surface.
- Bake 50–60 minutes, checking at 45 minutes for doneness.
- Look for a domed top, golden edges, and a set center crack.
- A toothpick inserted in the crack should emerge with moist crumbs, not wet batter.
Cooling Protocol
- Cool in pan for 10 minutes, then lift using the parchment and transfer to a wire rack.
- Wait at least 45 minutes before slicing—patience ensures clean, even slices.
Troubleshooting Guide
- Overbrowning: Tent with foil at 35 minutes.
- Flat loaf: Check fresh leavening, avoid overmixing.
- Gummy texture: Underbaked or overmixed—extend baking time.
- Tough crumb: Mix gently, weigh flour accurately.
According to research, a trending “proud of my buttermilk loaf” thread underscores how small tweaks inspire big wins at home. Similarly, this community energy confirms that temperature control, gentle mixing, and proper timing create consistent success.
Advanced Technique: Creaming Method
For refined texture, cream ½ cup softened butter with sugar for 2–3 minutes. Then add eggs one at a time, alternating flour mixture with buttermilk. This method produces a finer crumb with more lift.
Success Indicators
- Gentle dome without collapse.
- Even, fine crumb with tiny air pockets.
- Golden crust with a buttery aroma.
Transform your simple loaf with bold variations and smart serving
The basic buttermilk loaf recipe serves as your blank canvas. Strategic additions transform it from simple to spectacular without compromising the tender crumb.
Flavor Transformations
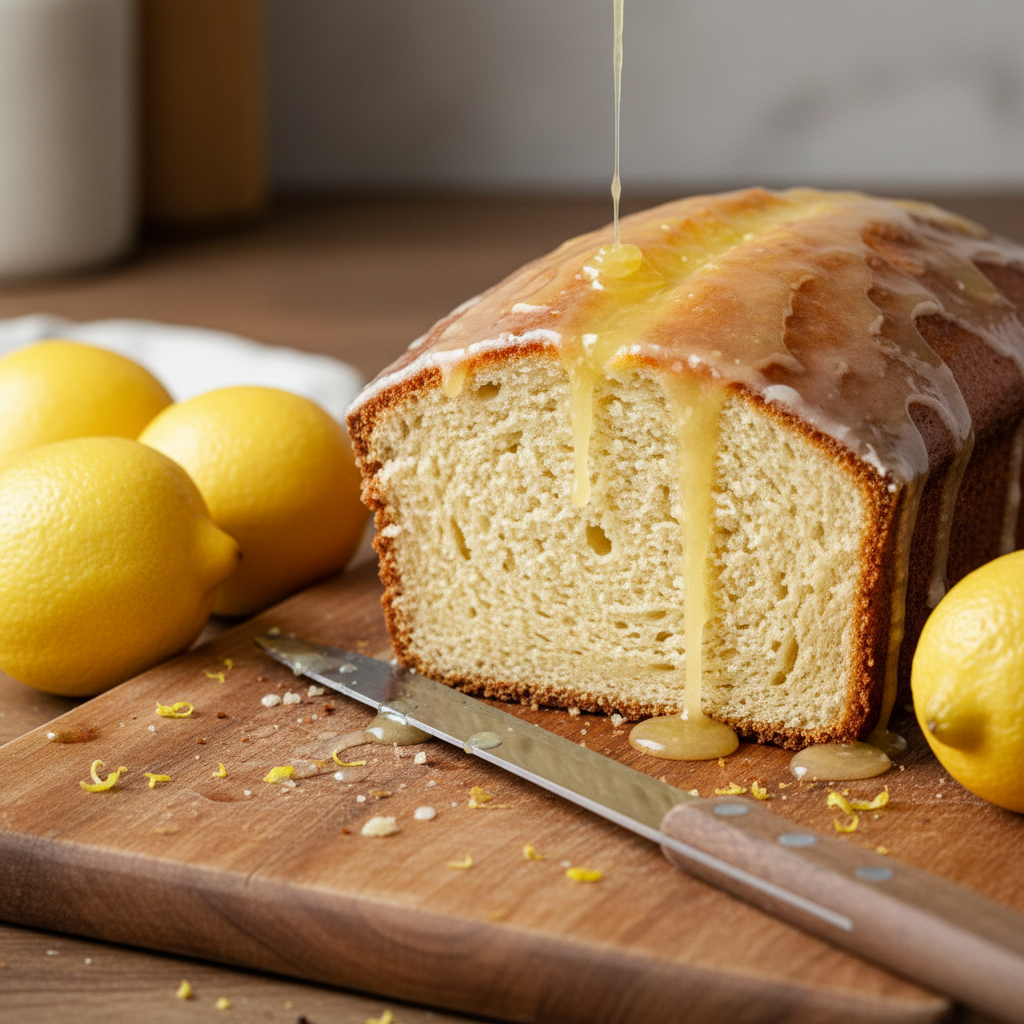
- Lemon-Glaze: Add 1 tablespoon lemon zest to batter. Meanwhile, whisk 1 cup powdered sugar with 2–3 tablespoons lemon juice for a glossy finish.
- Blueberry-Streusel: Toss 1 cup blueberries with 1 tablespoon flour before folding in. Top with a crumb mixture of ¼ cup flour, ¼ cup brown sugar, and 4 tablespoons cold butter.
- Chocolate-Chip: Fold in 1 cup mini chips. Additionally, replace vanilla with 1 teaspoon espresso powder for deeper flavor.
- Almond-Orange: Swap half the vanilla for almond extract. Add 1 tablespoon orange zest and sliced almonds on top.
- Savory Herb-Cheese: Reduce sugar to ¼ cup. Then add 1 cup sharp cheddar, 2 tablespoons chopped chives, and black pepper.
Serving Excellence
- Morning presentation: warm slices with salted butter and quality jam.
- Afternoon: thick-cut, toasted slices with cream cheese and honey.
- Brunch: pair with fresh berries and premium tea for an elegant spread.
- Dessert: lemon-glazed slices with whipped cream and macerated strawberries.
- Office treats: pre-sliced loaf wrapped with a small jar of jam.
Perfect Pairings
- Coffee: medium roast with citrus notes complements the tang.
- Tea: Earl Grey or Darjeeling provide floral lift.
- Cheese: mascarpone or ricotta adds luxury without overwhelming richness.
Storage Strategy
- Room temperature: Tightly wrapped, maintains peak moisture for 2 days.
- Refrigerator: Up to 5 days—reheat slices gently to restore texture.
- Freezer: Wrap whole loaf in plastic and foil for up to 2 months, or freeze slices separated with parchment.
Pro Tips for Perfection
- Uneven rise: Rotate pan at 35 minutes and check oven hotspots with a thermometer.
- Dry loaf: Increase fat slightly or reduce bake time by a few minutes.
- Bland flavor: Add extra vanilla or a citrus zest to boost complexity.
According to research, the “proud of my buttermilk loaf” post unlocked encouragement and curiosity from home bakers. Consequently, this community spirit drives recipe development—iterate, taste, and share your discoveries.
The buttermilk loaf revolution starts in your kitchen
Professional bakeries built empires on simpler foundations than this recipe provides. Mastering buttermilk loaf technique gives you the confidence to tackle any quick bread challenge—it’s the gateway to serious baking.
While food trends come and go, the buttermilk loaf endures because it solves real problems: consistent results, accessible ingredients, and countless variations. Start with the basic formula, push boundaries with bold additions, and keep detailed notes as you experiment.
Most importantly, share your successes and failures with fellow bakers. The perfect buttermilk loaf isn’t just about following instructions; it’s about understanding principles, respecting technique, and embracing the joy of creating something genuinely satisfying from simple ingredients. Your kitchen revolution begins with the first slice.
For more on Travel Food, check out our other stories.


Leave a Reply